Classic Apple Crisp: Buttery Oat Topping, Tender Apples
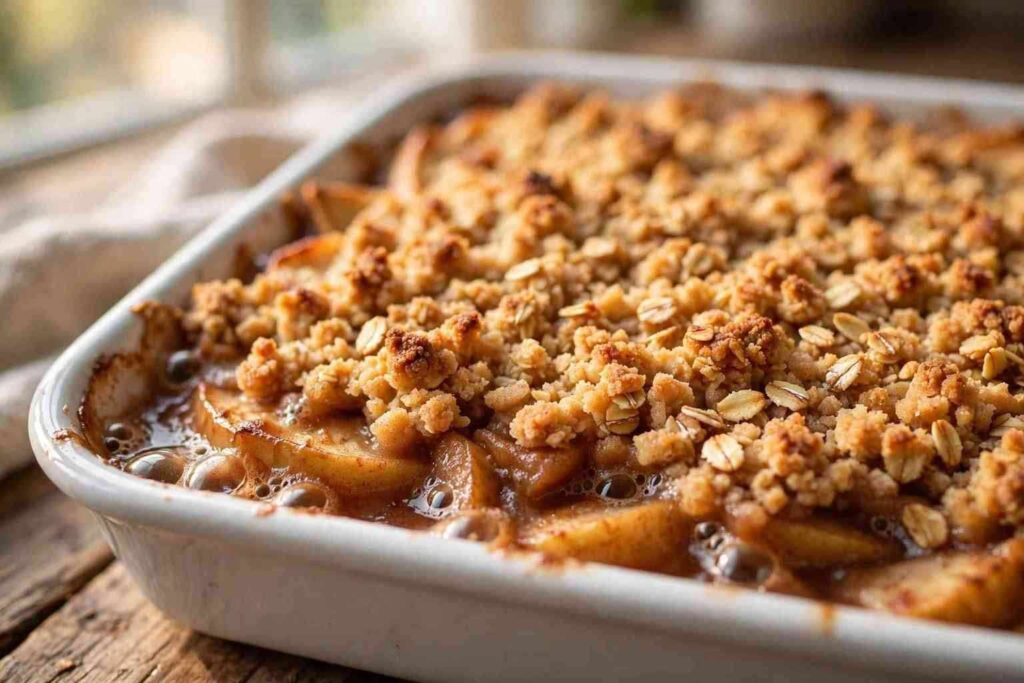
Few desserts earn their place on the table like apple crisp. Beneath a golden, buttery oat topping lies a bed of tender apples baked in their own cinnamon-spiced juices until they bubble at the edges. It is warm, sweet, a little tangy, and unapologetically simple. When fall arrives and apples are at their peak, this is the dessert that disappears first.
The magic of a great apple crisp comes down to contrast. The topping must stay crisp, not soggy. The filling should be soft and jammy but still hold pieces of apple you can bite into. Get those two textures right and the rest takes care of itself. Cold butter is the secret on top, and the right apples make all the difference underneath.
This classic apple crisp uses Granny Smith apples for tartness, brown sugar and cinnamon for warmth, and an oat topping rubbed with cold butter until it bakes into buttery, golden clusters. It comes together in one baking dish with pantry staples, bakes in about 45 minutes, and is at its best served warm with a scoop of vanilla ice cream melting over the top.
Where Apple Crisp Comes From
Apple desserts are as old as orchards, but apple crisp as we know it has distinctly American roots. The earliest printed recipes for “apple crisp” appear in American cookbooks in the early 1920s, a time when home cooks were looking for simpler alternatives to pie. Rolling out a flaky pie crust takes time and skill. Pressing a crumble of oats, flour, sugar, and butter over sliced apples takes minutes, and the result was just as satisfying.
The dish also arrived at the perfect moment for its ingredients. Rolled oats had become a household pantry staple, and orchards across New York, Washington, and Michigan were producing more apples than ever. Community cookbooks from the 1930s and 40s are full of crisp recipes, each one slightly different: some with nuts, some without oats, some with a pinch of nutmeg, but all built on the same idea of sweet baked fruit under a streusel-like lid.
What kept apple crisp popular through the decades was its forgiveness. Pie punishes a heavy hand, but a crisp rewards improvisation. Swap the apples for pears or peaches, add walnuts, use more or less cinnamon, and it still works. That flexibility made it a favorite of home cooks who wanted dessert without the pressure of pastry.
The Traditional Background of Apple Crisp
Traditional apple crisp follows a simple formula that has barely changed in a century. Sliced tart apples get tossed with sugar, cinnamon, and a squeeze of lemon juice, then piled into a baking dish. A topping of oats, flour, brown sugar, and cold butter goes over the top. The whole thing bakes until the filling bubbles and the topping turns deep golden brown.
Regional variations tell the story of American pantries. Up in New England, where this dessert is a regional treasure, some cooks toss in a handful of chopped walnuts or a drizzle of maple syrup. Midwestern cooks are famous for being generous with the oats — their version of the topping comes out of the oven thicker and chewier. A few old-fashioned recipes skip the oats entirely and use only flour, sugar, and butter, which is closer to a crumble, but the oat-topped version won the popular vote and became the standard.
The lemon juice deserves special mention, because it does more than stop the apples from browning. Its acidity brightens the whole filling, balancing the sweetness of the sugar and letting the apple flavor come through. The cornstarch plays a quieter but equally important role: it thickens the juices the apples release as they bake, turning them into a syrupy sauce instead of a watery puddle at the bottom of the dish.
Read Also: For an easy weeknight dinner before dessert, try our hearty chicken and rice recipes collection.
What Goes Into Apple Crisp
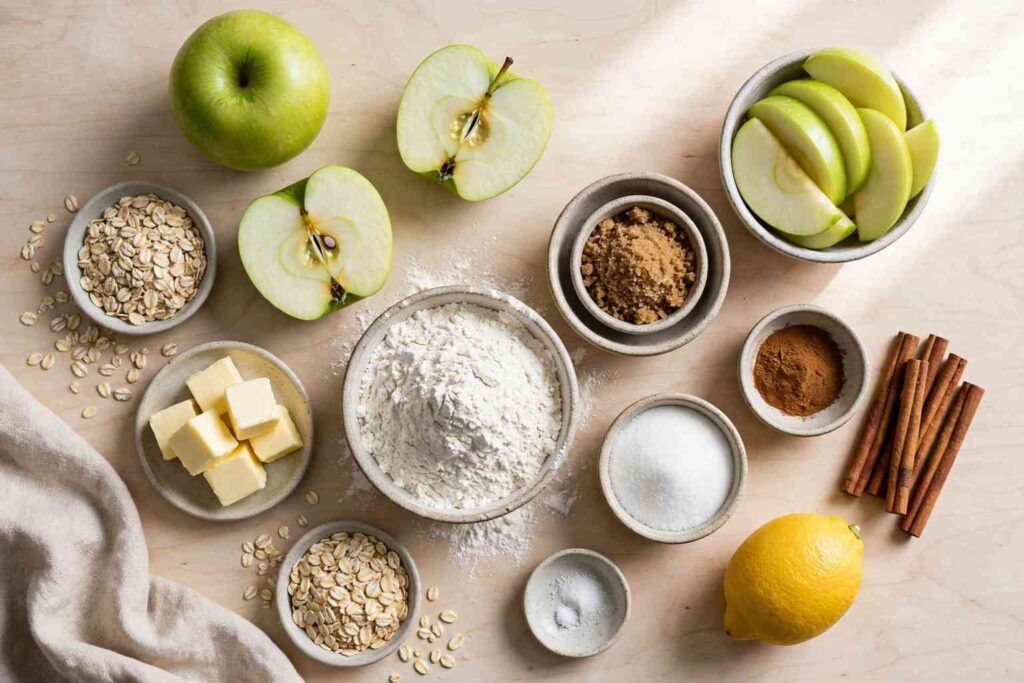
A classic apple crisp needs just two groups of ingredients: the filling and the topping. Each one is simple on its own, and together they do all the work.
The apples carry the dessert, so choose well. Granny Smith is the classic choice because tart, firm apples hold their shape in the oven and balance the sweetness of the topping. Softer apples break down into applesauce, which is fine if you like a very soft filling, but firmer fruit gives you the tender bite this dessert is known for. A mix of Granny Smith and a sweeter apple like Honeycrisp gives you both structure and natural sweetness.
The filling gets its flavor from a short list of seasonings. A modest scoop of plain white sugar is plenty — go light, because that buttery topping already carries a lot of sweetness on its own. Ground cinnamon is the warm signature spice, and a touch of nutmeg deepens it. While slicing, spritz the cut fruit with lemon juice — it stalls the gray-brown discoloration and lifts the apple taste. Cornstarch thickens the juices into a glossy sauce as everything bakes.
The topping is where the texture lives. Old-fashioned rolled oats provide the chewy, crisp structure, while all-purpose flour binds it together. Brown sugar brings a caramel-like sweetness that white sugar cannot match. Salt sharpens all the flavors. And cold unsalted butter, rubbed into the dry ingredients, is what makes the topping bake into golden, buttery clusters instead of a flat, dry layer. Keep that butter cold until the moment you use it.
How to Make Apple Crisp
Making apple crisp is straightforward, but a few details decide whether the result is great or just good. The process moves in three stages: prepare the apples, build the topping, then bake until the whole dish is bubbling and golden.
Start by heating the oven to 350 degrees and greasing a 9 by 13 inch baking dish. Start by peeling and coring the apples, then slicing them so each piece is about a quarter of an inch thick. Even slices matter more than exact thickness: uniform pieces cook at the same rate, so you do not end up with some mushy and some crunchy. Coat the apple slices with lemon juice immediately, then sprinkle over the sugar, cinnamon, nutmeg, and cornstarch and toss until each slice is evenly covered. Tip the coated apples into the dish and spread them into one even layer across the bottom.
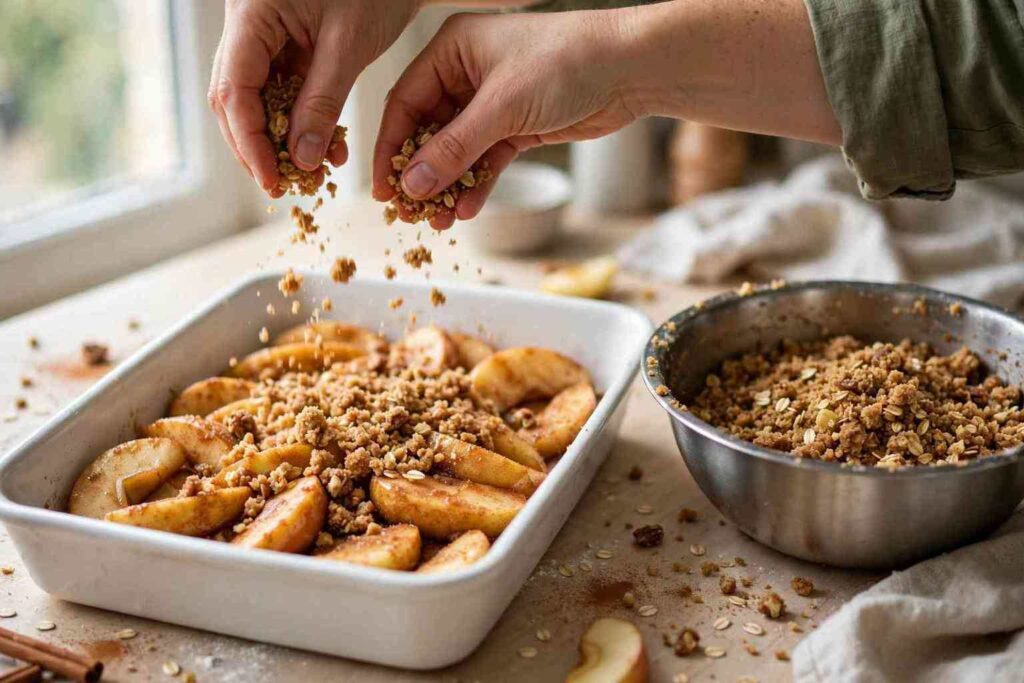
Next, make the topping. Whisk together the oats, flour, brown sugar, and salt in a bowl. Cut the cold butter into small cubes and rub it into the dry mixture with your fingertips, working quickly, until it looks like coarse crumbs with some pea-sized pieces of butter still visible. Those visible bits of butter are the goal. As they melt in the oven, they create little pockets of richness and help the topping crisp instead of steaming.
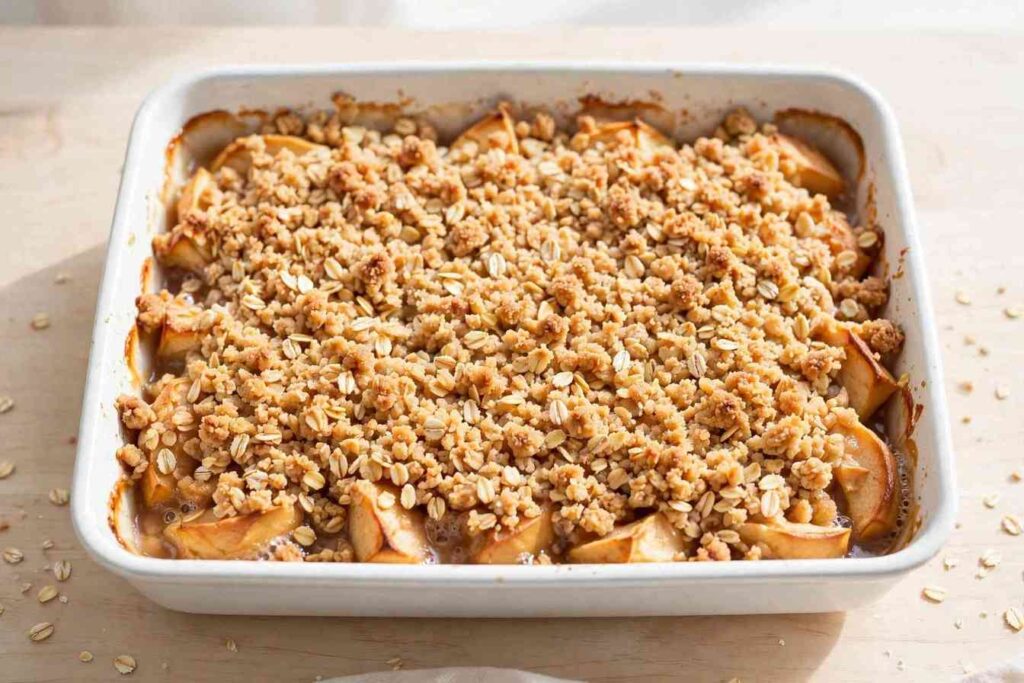
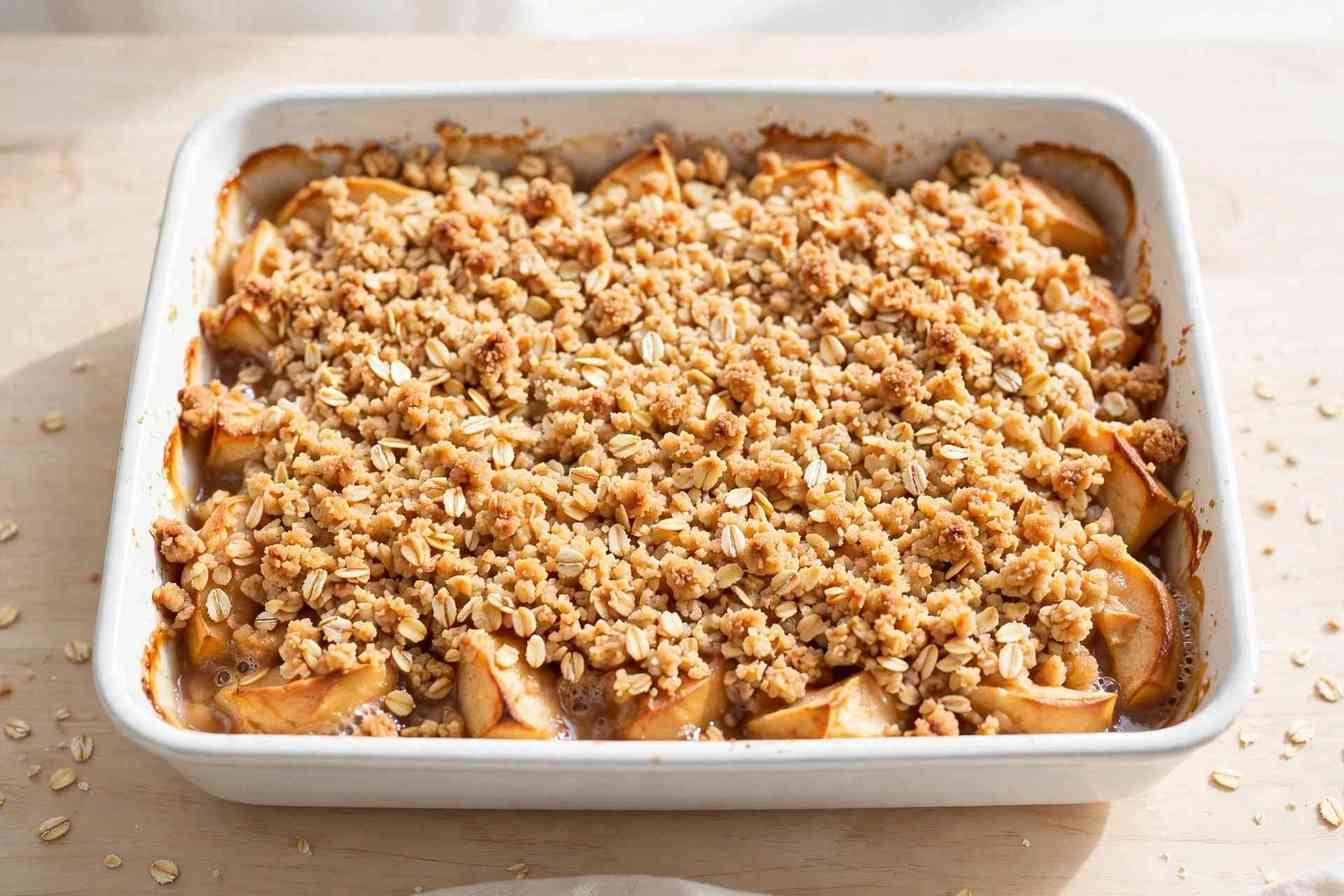
Sprinkle the topping evenly over the apples, covering them edge to edge so no fruit is exposed to the dry oven heat. Bake for 40 to 45 minutes. You are looking for two signals that it is done: the topping should be deep golden brown, and the filling should be visibly bubbling around the edges of the dish. That bubbling tells you the juices have thickened and the apples are tender all the way through. Let the crisp rest for 10 minutes before serving so the filling sets up slightly.
Tips for the Best Apple Crisp
These fundamentals solve the most common apple crisp problems before they start.
Keep the Butter Cold
If one habit decides how the topping turns out, it is this: cut the fat in straight from the fridge, firm and chilly. Cubes straight from the refrigerator melt gradually in the hot oven, giving off steam that turns the crumble light and crisp instead of dense. If the butter is soft or melted when you mix it in, the topping turns dense and greasy. Cut it straight from the refrigerator and work fast with your fingertips.
Use Firm, Tart Apples
Reach for apples that are firm and tangy — they keep their shape through the full 45-minute bake. Granny Smith is the workhorse choice, but Braeburn, Jonagold, and Cortland bake up just as well. Avoid very soft varieties for the whole batch: they collapse into mush and make the filling watery.
Slice Evenly
Cut each slice close to a quarter inch thick. Go thicker and the centers stay crunchy; go thinner and they melt away. Uniform slices bake at the same pace, so every bite comes out equally tender.
Pick a Shallow, Wide Dish
A wide, shallow dish gives the topping more surface to brown, so you get more crunch in every spoonful than a deep, narrow bowl ever delivers. A 9×13-inch pan or a broad ceramic baker works beautifully here. The extra exposed area also lets steam escape, keeping the crumble dry and golden instead of soggy.
Toast the Oats First
A few minutes in a dry skillet transforms plain oats before they ever meet the butter and sugar. Stir them over medium heat until they smell nutty and turn a shade deeper, then fold them into the topping mixture. That one extra step adds a warm, toasted depth that plain raw oats never reach.
Serve It Warm
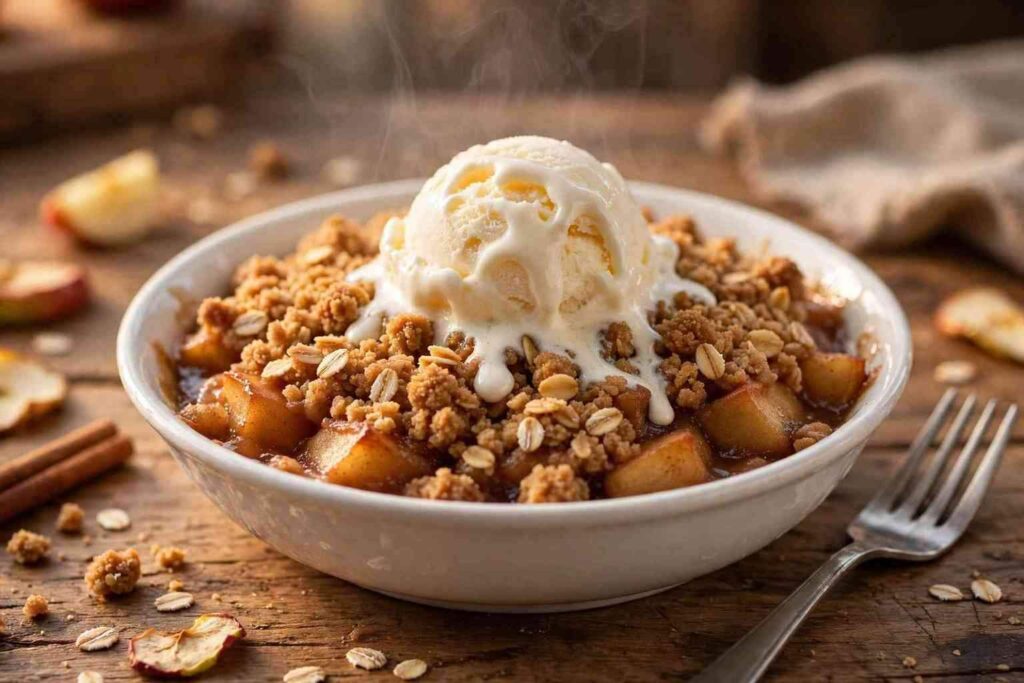
Twenty minutes after it leaves the oven, this apple crisp is at its prime: warm, fragrant filling, and a topping that still bites back. Scoops of ice-cold vanilla melting into a hot serving wake the spice notes right up — the hot-against-cold clash is the whole pleasure.
Apple Crisp Nutrition
Apple crisp is a dessert, but it has a few things going for it nutritionally. Apples bring fiber, vitamin C, and natural sweetness, and the oats in the topping add whole grains and a bit of fiber too. Compared with richer desserts built on cream or pastry, a serving of apple crisp is relatively modest, especially if you keep portions reasonable.
Most of the calories come from the butter, sugar, and flour in the topping, which is where the indulgence lives. If you want a lighter version, you can reduce the brown sugar in the topping by a quarter and increase the oats, which keeps the texture while trimming sweetness. Serving smaller portions alongside fresh fruit or a modest scoop of ice cream instead of a large one also helps.
A modest serving now and then sits easily alongside everyday meals — this is a treat to enjoy, not a daily staple. Bake it for a weekend gathering, share it with people you like, and let one warm serving be the treat it is meant to be.
Read Also: For a cozy dinner to serve before this dessert, our classic lasagna is always a crowd pleaser.
Frequently Asked Questions
What are the best apples for apple crisp? Granny Smith is the top choice because its tartness balances the sweet topping and its firm flesh holds up during baking. Honeycrisp, Braeburn, Jonagold, and Cortland are also excellent. The key is firmness: apples that stay intact in the oven give you tender slices instead of applesauce. Pairing one tart variety with a sweeter one gives the best balance of flavor.
Why is my apple crisp topping soggy? A soggy topping usually means the butter was too warm when you mixed it, or the dish sat too long before baking. Store the butter in the refrigerator until you are ready to rub it in — that chill is what delivers the crunch. And don’t pull the dish early: the filling must be bubbling vigorously around the edges, or trapped steam will soften the topping. Serving the crisp warm, soon after its short rest, keeps the topping at its crispiest.
Can I make apple crisp ahead of time? Yes. Assemble the whole dish, cover it, and refrigerate for up to 24 hours before baking, then add about 5 extra minutes to the baking time since it goes in cold. You can also bake it a day ahead and reheat: warm it in a 325 degree oven for 15 to 20 minutes to re-crisp the topping. Nothing beats a crisp eaten the day it bakes — an overnight stay in the refrigerator always steals some of the topping’s crunch.
How do I store leftover apple crisp? Cover the baking dish and refrigerate what’s left for up to four days. A single portion does well with a minute in the microwave; to bring the entire dish back, give it 15 minutes in a 325-degree oven and the topping crisps up again. You can freeze apple crisp for up to 3 months; move it to the fridge the night before serving, then warm it in the oven until heated through.
Can I make apple crisp without oats? Sure — technically that turns it into an apple crumble. Trade the oats for the same amount of all-purpose flour, and toss in a handful of chopped walnuts or pecans so the bite stays interesting. The topping will bake up more cookie-like and less chewy, but still buttery and delicious. Everything else in the recipe stays the same, including the bake time.
Should apple crisp be served warm or cold? Always warm. This apple crisp hits its best window about 20 minutes after baking — the filling settles into a warm syrup and the topping holds its snap. Top every portion with soft-melting vanilla ice cream or a generous dollop of whipped cream. Next-day portions eat fine cold or at room temp, but a brief warm-up brings back that fresh-from-the-oven quality.
Conclusion
Classic apple crisp endures because it asks so little and gives so much: sliced apples, a buttery oat topping, and one hot oven are all it takes to make a dessert that feels like fall itself. Keep the butter cold, pick firm tart apples, and bake until the edges bubble, and this apple crisp will come out golden and fragrant every time. Dish it up warm with vanilla ice cream, and do not be surprised if the pan comes back to the kitchen completely empty.
Read Also: For more holiday entertaining ideas, browse our thanksgiving appetizers collection.
Classic Apple Crisp
Ingredients
Method
- Heat the oven to 350°F (175°C). Lightly grease a 9 by 13 inch baking dish.
- Place the apple slices in a large bowl and toss with the lemon juice. Add the granulated sugar, cinnamon, nutmeg, and cornstarch, and toss until every slice is evenly coated. Spread the apples in an even layer in the prepared dish.
- In a medium bowl, whisk together the oats, flour, brown sugar, and salt.
- Add the cold butter cubes and rub them into the dry mixture with your fingertips until it forms coarse crumbs with some pea-sized pieces of butter remaining.
- Sprinkle the topping evenly over the apples, covering them completely edge to edge and pressing gently into an even layer.
- Bake for 40 to 45 minutes, until the topping is deep golden brown and the filling is bubbling around the edges of the dish.
- Let rest for 10 minutes before serving so the filling sets. Serve warm, with vanilla ice cream if you like.