Granola Easy Crunchy Homemade Breakfast Favorite
Introduction
Homemade mix is one of the simplest ways to make breakfast feel special, and it tastes far better than most store bought bags. This mix is crunchy, lightly sweet, and full of oats, nuts, and seeds, with clusters that hold together just enough to scoop. You stir the dry ingredients, coat them with oil and honey, spread the mix on a tray, and bake until golden.
What makes this breakfast mix so useful is how many ways you can serve it. Spoon it over yogurt, pour milk over it like cereal, or eat a handful as a snack straight from the jar. It keeps well for weeks, so one batch can cover many busy mornings. Pack it for work, school lunches, or a weekend trip, and you always have something wholesome ready to eat.
This guide walks through this recipe from start to finish in plain language. You will learn which oats give the best crunch, how to get clusters without burning the batch, and how to store it so it stays crisp. You will also find flavor ideas, serving tips, and answers to the questions home cooks ask most often. Whether you bake for a family or just for yourself, this recipe gives you a dependable result every time.
Origin
This breakfast food has roots in nineteenth century American health food, when early breakfast cereals were made from baked grains. The name granola became widely known in the twentieth century, as health food stores and home cooks made their own baked oat mixes with nuts, seeds, and dried fruit. It grew popular as a wholesome breakfast that could be made in large batches at home.
Over time, it moved from health food shops to supermarket shelves and home kitchens across the country. Home cooks adapted the basic mix to their own tastes, adding different nuts, seeds, spices, and sweeteners. Today, it is a breakfast staple, and this version stays close to the classic style: rolled oats, nuts, seeds, oil, and a touch of sweetness, baked until crisp.
Traditional Background
Traditionally, it is a make ahead breakfast food, baked in a large batch and stored in jars for daily use. Families kept it on the counter or in the pantry, ready to spoon over yogurt or eat with milk. It was valued because it lasted well, traveled well, and turned a simple bowl of yogurt into a filling meal.
Beyond breakfast, it has long been a snack for hikers, travelers, and busy workers, because it is portable and filling. A small bag of mix fits in a pocket or a backpack and gives steady energy on the go. This recipe honors that tradition, with a sturdy, crunchy mix that keeps its texture in storage and tastes good plain or with fruit and yogurt.
Ingredients
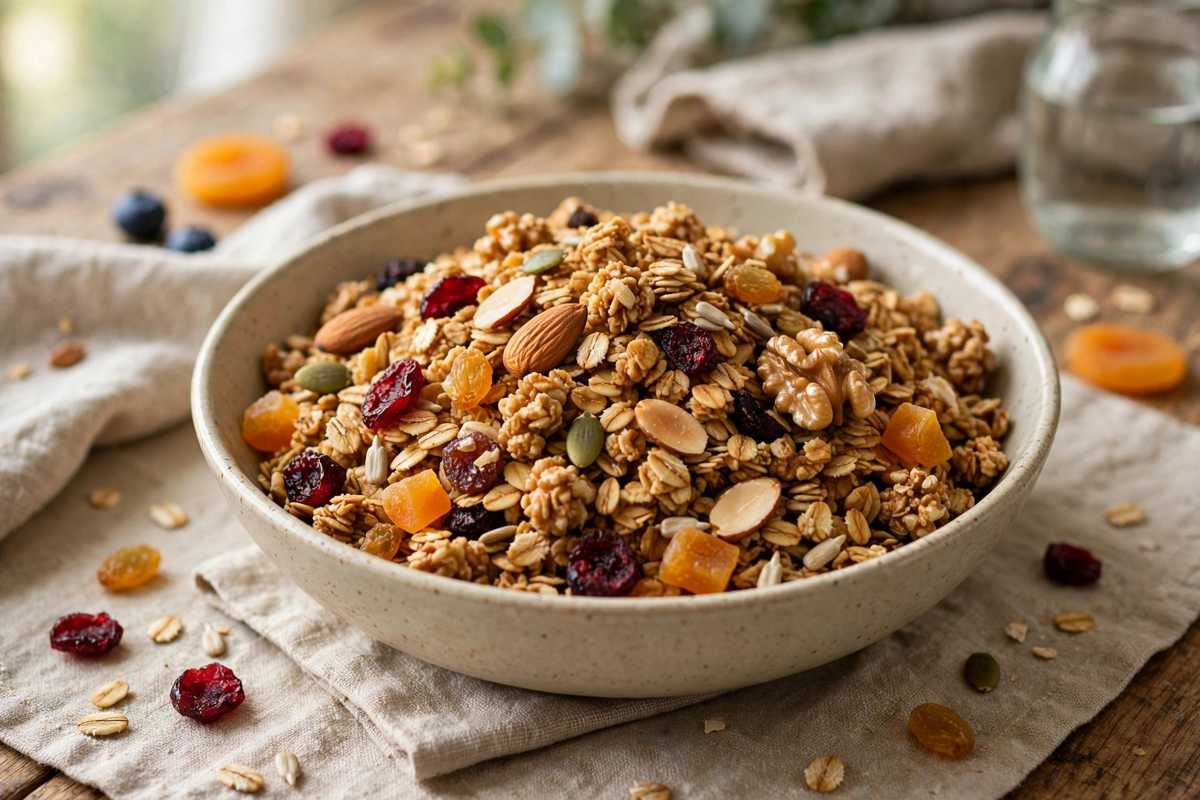
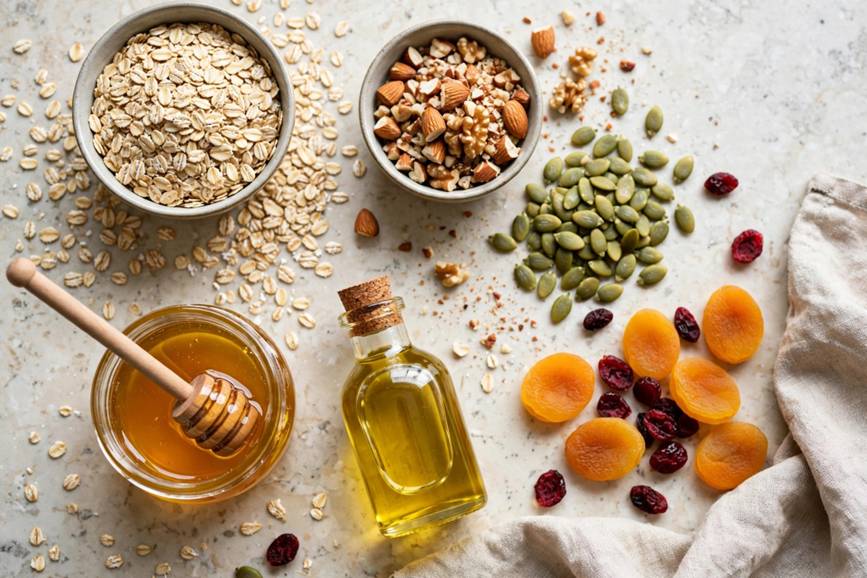
The heart of a good batch is rolled oats. Old fashioned rolled oats give the best texture, because they bake into crisp flakes and form clusters. Quick oats break down too much and turn powdery, while steel cut oats stay too hard in this kind of bake. Choose plain rolled oats, and check that they smell fresh, since stale oats make a dull mix.
Nuts and seeds give this mix crunch and richness. Almonds, walnuts, pecans, and pumpkin seeds all work well, and you can mix them to suit your taste. Chop larger nuts into rough pieces so they mix evenly with the oats. Honey and oil bind the mix and help it crisp in the oven. A little vanilla, cinnamon, salt, and dried fruit round out the flavor, with the fruit added after baking so it does not burn.
A few details make granola better. Measure the oil and honey carefully, because too much makes the mix greasy, while too little leaves it dry and crumbly. Use a neutral oil with a mild flavor, so the oats and nuts stay at the center. Taste the raw mix before baking, and adjust the cinnamon or salt to your liking. A well balanced granola should taste nutty and lightly sweet, not sugary.
Method
First, switch the oven on, then tip the dry ingredients into a big mixing bowl. Combine the rolled oats, chopped nuts, seeds, cinnamon, and salt in a large bowl, and stir until evenly mixed. In a smaller bowl, whisk the oil, honey, and vanilla until smooth. Pour the wet mix over the oats and stir well, so every flake gets a light coating. The mix should look glossy, not wet.
Next, spread the batch on a baking tray lined with parchment, pressing it into an even layer. A thin, even layer bakes more evenly than a thick pile, so use a large tray or two trays if needed. Bake, stirring once or twice for even browning, until the batch turns golden and smells toasty. The granola will still feel a little soft when hot, but it crisps as it cools.
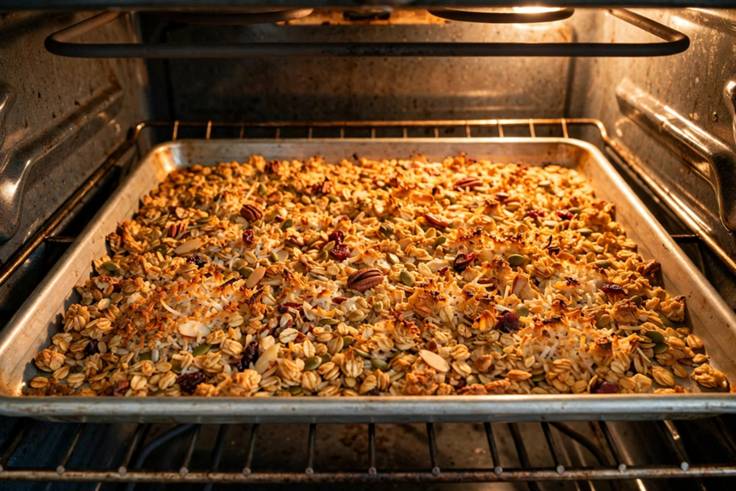
Let the batch cool completely on the tray before breaking it into clusters. Pressing it gently while it cools helps larger clusters form, while stirring it while hot makes a looser mix. Once cool, stir in the dried fruit, and store the batch in a clean, dry jar. Cooling fully before storing is key, because warm granola trapped in a jar turns soft and loses its crunch.
Tips
Use old fashioned rolled oats for the best crunch. Quick oats absorb moisture differently and give a softer, dustier result, while steel cut oats do not soften enough in the oven. If you only have quick oats, reduce the baking time slightly and watch the tray closely, since they brown faster.
Do not stir too often if you want clusters. Stirring breaks the mix apart, which is fine for a loose granola, but pressing the mix together and letting it cool undisturbed gives bigger pieces. For a mix of both, stir once halfway through baking, then leave it alone until it cools fully.
Watch the batch closely near the end of baking, because honey browns fast and can go from golden to burnt in a few minutes. Check the tray a few minutes before the time is up, and pull it when the edges look golden, even if the center still looks pale. The heat of the tray keeps cooking it as it cools.
Add dried fruit after baking, never before. Dried fruit burns quickly in a hot oven and turns bitter, while fruit stirred into cooled granola stays soft and sweet. The same rule applies to chocolate chips, which should go in only after the mix is fully cool. Store the finished granola in a dry jar with a tight lid, away from steam and heat.
Make a double batch if your household eats granola often, since it keeps well and saves time during the week. Bake in two trays rather than piling one tray high, so both batches crisp evenly. Label the jar with the date, and use it within a few weeks for the freshest crunch.
Store the finished batch in small jars if you plan to give it as a gift, and add a simple label with the date and the main nuts used. Small jars look thoughtful, they travel well, and they help the person receiving them know what is inside. For a breakfast bar at home, set out the jar with yogurt, fresh fruit, and milk, so each person can build a bowl to suit their taste. That simple setup turns a weekday breakfast into something a little more inviting, without any extra cooking in the morning.
Read Also: For a versatile weeknight dinner, explore these boneless skinless chicken thigh recipes for easy meals.
Nutritional Values
Granola is an energy rich breakfast food, and its nutrition reflects the oats, nuts, and seeds in each serving. Oats provide fiber and steady energy, nuts add protein and healthy fats, and seeds add crunch along with minerals. A serving of granola with yogurt and fruit makes a filling breakfast that keeps you full for hours.
Because granola is dense, portion size matters. A small scoop over yogurt is often enough, especially when paired with fruit and milk or yogurt. Honey adds sweetness and energy, so measuring it rather than pouring freely helps keep the mix balanced. Served this way, granola fits comfortably into an everyday breakfast pattern.
You can adjust this mix to suit your needs by changing the nuts, seeds, or dried fruit, or by using a little less honey for a less sweet mix. Adding more seeds and fewer nuts keeps the crunch while changing the flavor, and serving it with fresh fruit adds volume and freshness. The core of the dish stays the same: crisp oats, toasted nuts, and a light sweetness.
Another advantage of a homemade mix is control over sweetness and salt. Store bought versions often taste very sweet, while a home batch lets you adjust both to your own taste. Start with the amounts in the card, taste the cooled mix, and note any change you want for the next batch. Over time, you will settle on a version that suits your family, and that personal version is often the one that gets made again and again.
Utensils
You need only basic tools for granola. A large mixing bowl, a small bowl or measuring jug for the wet mix, a spoon or spatula, and a large baking tray lined with parchment cover the job. A sharp knife and a cutting board handle chopping the nuts, and a clean jar with a tight lid stores the finished granola.
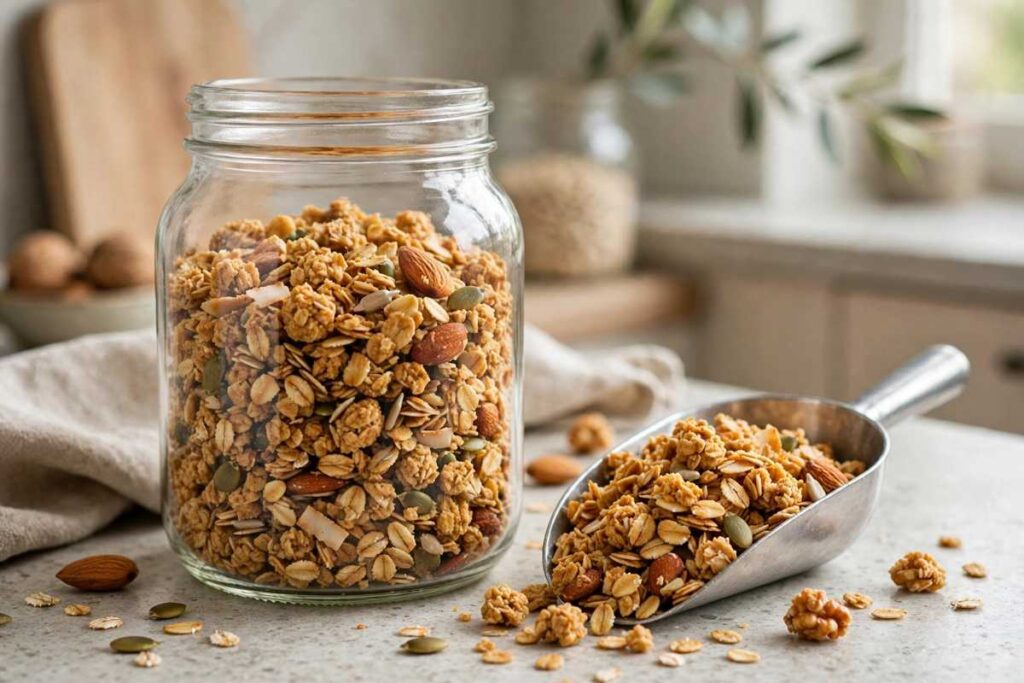
For storage, keep granola in a dry jar at room temperature, away from the stove and sink, where steam can soften it. Do not store it while still warm, and keep the lid closed between servings. Cleanup is simple, since the tray can be lined and the bowls rinse easily after the honey and oil mix.
Read Also: For a quick garlicky pasta dinner, try this classic shrimp scampi with lemon and butter.
FAQs
What oats are best for granola?
Old fashioned rolled oats are best for granola, because they bake into crisp flakes and form good clusters. Quick oats turn soft and dusty, while steel cut oats stay too hard after baking. If you buy oats in bulk, check that they smell fresh and have no stale or musty odor, since the oats are the main ingredient and their flavor shows clearly.
How do I get big clusters in my granola?
To get big clusters, press the mix into an even layer on the tray, stir only once during baking, and let it cool completely without touching it. The honey and oil bind the oats as they cool, so breaking the sheet apart after cooling gives large pieces. If you prefer loose granola, stir it while hot and again as it cools for a crumbly texture.
How long does homemade granola last?
Homemade granola lasts 2 to 3 weeks in a clean, dry jar with a tight lid at room temperature. It stays crisp longest when it cools fully before storing and when the jar stays away from steam and heat. If the mix starts to smell stale or feels soft, it is past its best, though it is still safe to eat for a short time after.
Can I make granola without honey?
Yes, you can make granola without honey by using maple syrup or another liquid sweetener in the same amount. The flavor will change slightly, with maple syrup giving a warmer, deeper sweetness. Keep the same ratio of wet to dry ingredients, so the oats coat evenly and crisp properly in the oven, and watch the baking time, since syrups brown at slightly different rates.
What can I serve with granola?
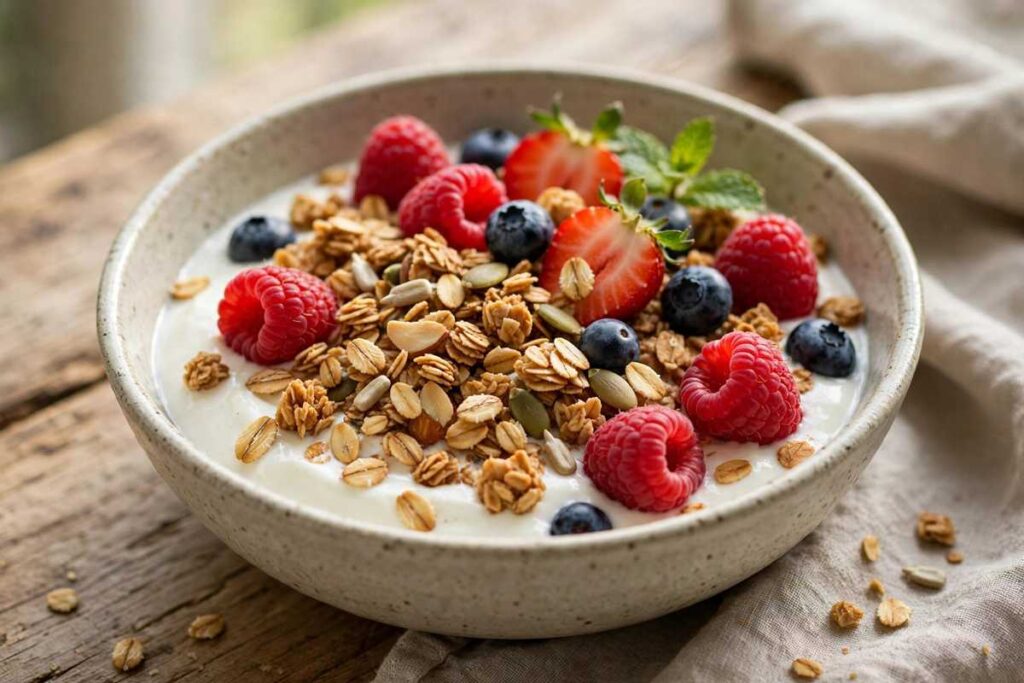
Granola pairs well with yogurt, milk, fresh fruit, and smoothies. Spoon it over plain yogurt with berries for breakfast, pour milk over it like cereal, or sprinkle it on smoothie bowls for crunch. It also works as a topping for baked fruit, ice cream, or oatmeal, and it makes a handy snack on its own from a small bag or jar.
Conclusion
This granola proves that a great breakfast does not need a long ingredient list or fancy steps. Rolled oats, nuts, seeds, oil, and honey, baked until golden and cooled until crisp, give a crunchy mix that works for breakfast, snacks, and travel alike. Keep the layer even, watch the oven near the end, and cool it fully before storing, and you will have granola that stays crisp for weeks. Make it once, adjust the nuts and fruit to your taste, and it will become a regular in your kitchen.
Read Also: For a festive summer table, browse these colorful 4th of july desserts for parties and picnics.
Classic Homemade Granola
Ingredients
Method
- Heat the oven to 325 degrees F and line a large baking tray with parchment.
- Stir the oats, nuts, seeds, cinnamon, and salt in a large bowl.
- Whisk the oil, honey, and vanilla in a small bowl until smooth.
- Pour the wet mix over the oats and stir until evenly coated.
- Spread the mix in an even layer on the tray, pressing lightly.
- Bake for 25 to 30 minutes, stirring once halfway, until golden and toasty.
- Cool completely on the tray, then stir in the dried fruit and store in a dry jar.