The Best Homemade Rice Krispie Treats
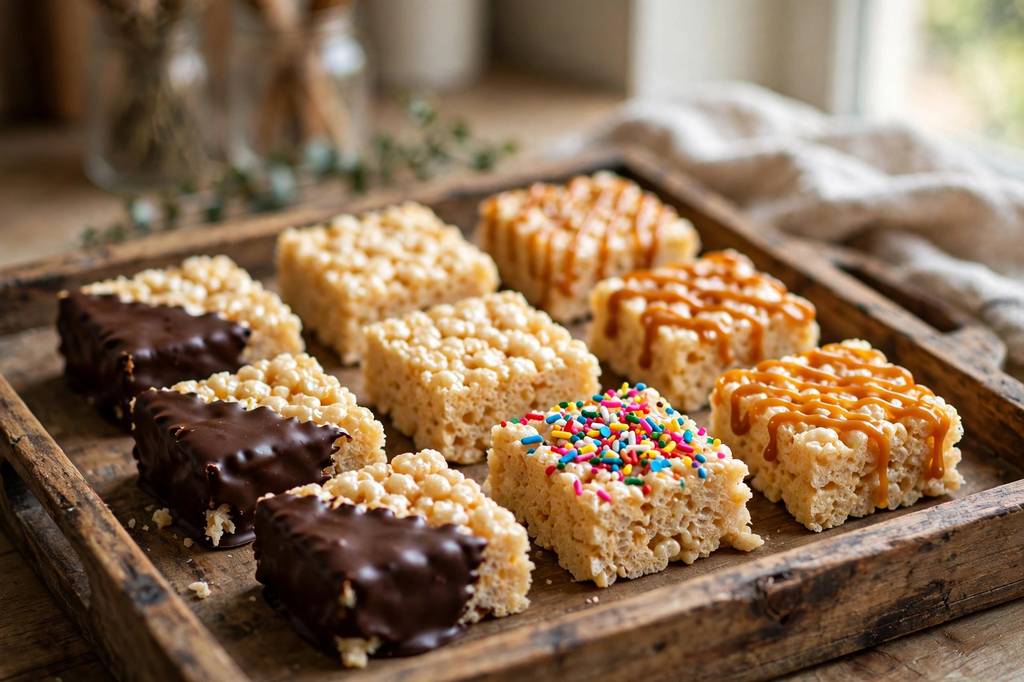
Some desserts need a rolling pin, a stand mixer, and a whole free afternoon. Rice krispie treats need none of that. With three simple ingredients, one pot, and about fifteen minutes, you can turn a box of crisp rice cereal into the chewy, buttery, marshmallow-packed bars that defined childhood snack time for generations.
There is a reason these bars keep showing up in lunchboxes, at bake sales, and on birthday party tables decade after decade. They are sweet without being fussy, crunchy without being hard, and nostalgic in a way that few treats can match. One bite of warm, gooey rice krispie treats and you are right back at the kitchen table, hoping the pan has not been claimed by an older sibling.
This recipe keeps things classic while adding the small upgrades that separate a good batch from a great one: melted butter browned just slightly, a pinch of salt, fresh marshmallows, and a gentle hand when pressing the mixture into the pan. Follow along and you will get thick, chewy bars with that perfect pull-apart stretch every single time.
Where Rice Krispie Treats Come From
The story of rice krispie treats starts in the late 1930s in the home economics kitchen of the Kellogg company. Two home economists, Mildred Day and Malitta Jensen, were developing recipes that would show home cooks new ways to use crisp rice cereal. Their marshmallow bar recipe was simple, inexpensive, and endlessly appealing to families, so it was printed on the side of cereal boxes in the early 1940s and quickly found their way into kitchens across America.
Timing played a big part in the treat’s rise. During the 1940s, many households were cooking on tight budgets and rationed ingredients. A dessert made from cereal, marshmallows, and butter was affordable, used pantry staples, and required no oven time. Mothers could whip up a pan between other chores, and kids loved the sweet crunch. Community cookbooks and church recipe collections soon featured the bars under names like marshmallow squares and crisp rice bars.
By the 1950s and 60s, rice krispie treats had become a lunchbox classic. They traveled well, did not need refrigeration, and survived a morning in a school locker without falling apart. Bake sales adopted them too, since a single batch could be cut into two dozen neat squares that sold for a quarter each. The bars became a symbol of simple American home baking: no special skills required, just a willing cook and a bag of marshmallows.
Over the decades, the recipe barely changed, which is part of its charm. While other desserts cycled through trends, rice krispie treats stayed exactly as they were: buttery, chewy, and comforting. Today they appear at baby showers, birthday parties, and holiday cookie swaps, sometimes dressed up with chocolate drizzle or sprinkles, but the heart of the recipe is the same one those home economists tested nearly a century ago.
What Goes Into Rice Krispie Treats
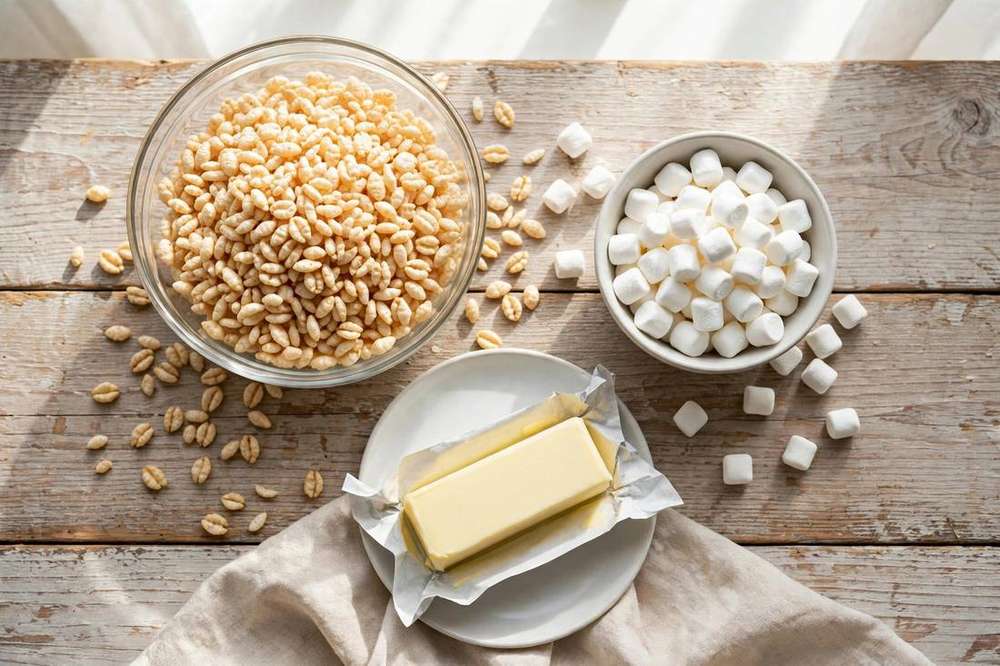
Part of the magic of rice krispie treats is how short the ingredient list is. Everything you need probably sits in your pantry right now. That said, each ingredient plays a specific role, and small choices here make a noticeable difference in the final bar.
Crisp rice cereal is the backbone. Those tiny toasted grains of puffed rice bring the snap, crackle, and pop that give the bars their signature texture. Fresh cereal matters more than you might think. A box that has been open for weeks can taste stale, and stale cereal makes for a disappointing bar. If your box has been sitting around, give a piece a taste before you start. You want that light, toasty crunch.
Marshmallows are the glue that holds everything together. Standard mini marshmallows melt faster and more evenly than the large ones, which is why most experienced bakers reach for the minis. Freshness is the key factor. Marshmallows that are old and stiff will not melt into a smooth, silky coating, and your rice krispie treats will turn out dry and crumbly instead of gooey. When in doubt, buy a fresh bag.
Butter brings richness and keeps the marshmallow mixture from sticking. Unsalted butter is the classic choice because it lets you control the salt yourself, though salted butter works in a pinch if that is what you have. A few tablespoons make the bars taste like real baking rather than something from a wrapper, and melting the butter first gives the marshmallows a smooth base to dissolve into.
Vanilla extract and a pinch of salt are the quiet upgrades. A splash of vanilla softens the sweetness and adds depth, while salt wakes up the other flavors so the bars taste balanced instead of flat and sugary. The original box-side recipe never called for either one, yet after one batch of rice krispie treats with these two additions, there is no going back.
How to Make Rice Krispie Treats
Making rice krispie treats is one of the most forgiving processes in all of baking, which is exactly why it is a favorite first recipe for kids. The whole recipe unfolds in one big pot or Dutch oven, taking roughly fifteen minutes from first melt to finished pan.
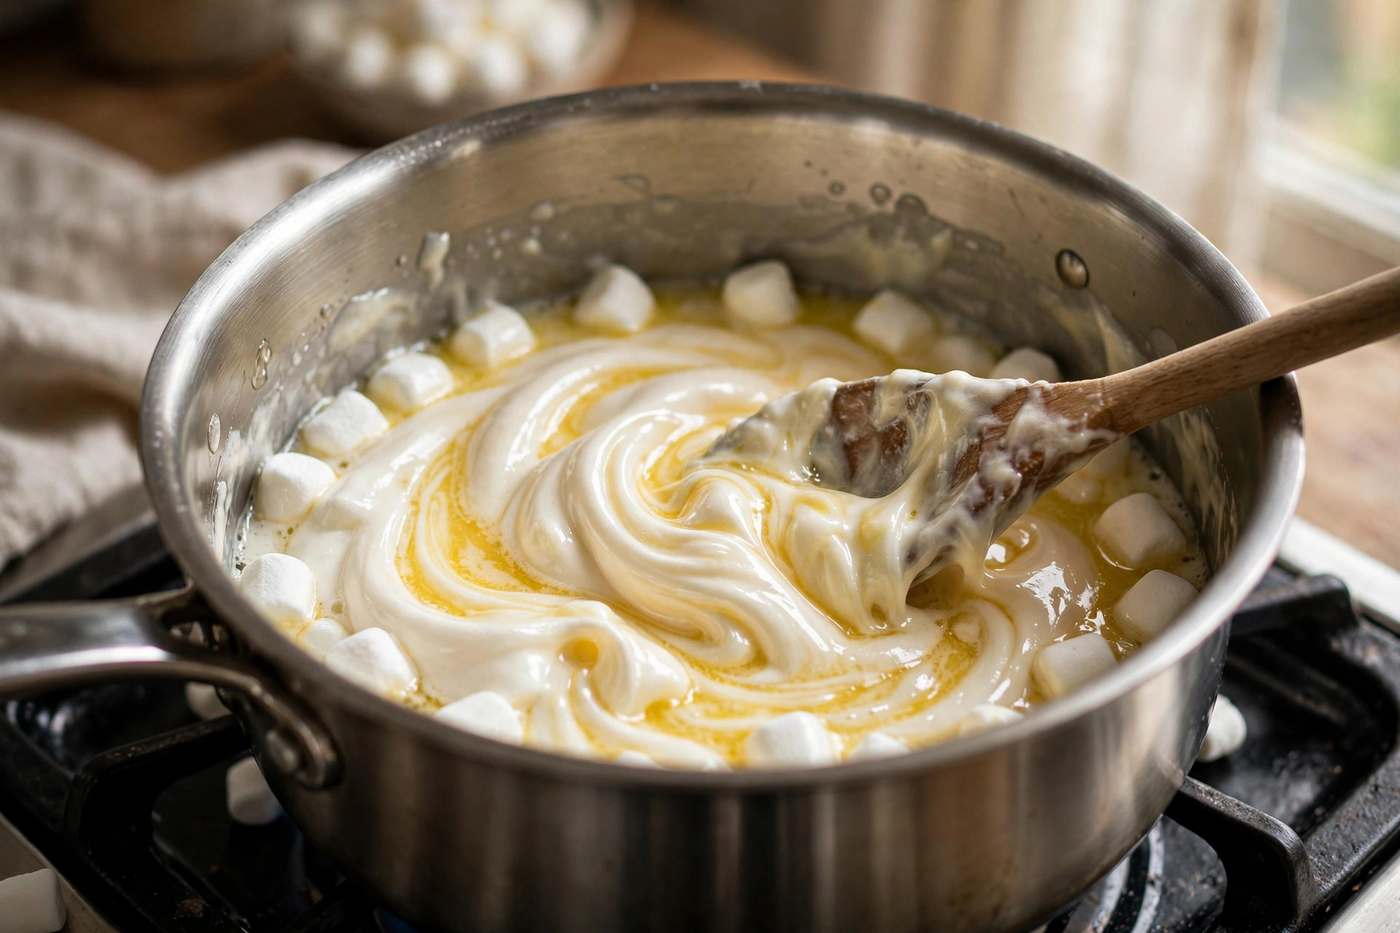
It begins with butter melting slowly over low heat. Low is the operative word here. High heat is the number one reason homemade rice krispie treats turn out hard and tough instead of soft and chewy. When the butter is fully melted and just starting to foam, the marshmallows go in. Stir them gently and patiently as they soften, watching the mixture transform from distinct white puffs into a smooth, glossy pool. This is also when you stir in the vanilla and salt, so the flavors blend evenly through the melted base.
As soon as the marshmallows turn fully smooth, pull the pot off the burner. This step matters, because residual heat is enough to finish the job without overcooking anything. Pour in the crisp rice cereal and fold it through the marshmallow mixture with a sturdy spatula. Work quickly but gently, turning the cereal over and over until every grain is coated in a shiny layer of marshmallow. You want even coverage without crushing the delicate cereal.
Then comes the pressing. Transfer the mixture to a buttered or parchment-lined 9×13 pan and press it into an even layer. Here is where most people go wrong: they press too hard, packing the bars into dense bricks. Instead, use buttered hands or a piece of wax paper and press just firmly enough to even things out, leaving the mixture a little lofty. Loose pressing is the secret to thick, chewy bars with real texture. Let the pan cool at room temperature for about an hour, then cut into squares and serve.
Read Also: If you are planning a full day of comfort cooking, start with our classic chicken noodle soup for dinner and save these bars for dessert.
Tips for the Best Rice Krispie Treats
Great rice krispie treats come down to technique, not talent. These five tips address the most common problems and will lift your bars from good to bakery-worthy.
Keep the heat low for a gooey texture. This is the single most important tip. Marshmallows melted over high heat develop a tough, almost caramelized structure that sets into hard bars. Melting the marshmallows gently over low heat prevents them from firming up, and that patient approach is what delivers the soft, stretchy chew. If your stove runs hot, err on the side of medium-low and give the marshmallows an extra minute or two.
Use fresh marshmallows. Marshmallows lose moisture as they age, and old ones melt unevenly into a grainy, stiff mixture. A fresh bag melts into a silky, glossy coating that clings to every grain of cereal. Check the bag for any hard or stuck-together marshmallows, and if they feel firm instead of pillowy, buy a new bag before you start.
Butter the pan generously. Nothing ruins the mood like bars that stick to the pan and tear apart when you try to lift them out. Rub softened butter over every inch of the pan, including the corners, or line it with parchment paper with a little overhang for easy lifting. Butter your spatula and your hands too, since the marshmallow mixture is famously sticky.
Do not press too hard. Dense, hard bars are almost always the result of over-packing the pan. Press the mixture just enough to create an even surface. Think of it as settling the cereal into place rather than compacting it. Bars that keep some air between the grains stay thick, chewy, and tender instead of turning into jawbreakers.
Add a little extra for fun. Once you have the classic version down, the recipe welcomes add-ins. Fold in a handful of chocolate chips with the cereal, press rainbow sprinkles into the top before the bars set, or drizzle melted chocolate over the cooled squares. A little flaky sea salt on top is a grown-up touch that balances the sweetness beautifully.
Cut cleanly for perfect squares. Let the bars cool completely before cutting, then use a large sharp knife. For the cleanest edges, butter the knife or run it under hot water and wipe it dry between cuts. Pause frequently to wipe the blade clean, because sticky marshmallow residue will drag and leave torn, uneven edges.
Read Also: For another crowd-pleasing classic that feeds a hungry family, try our tender mississippi pot roast on a busy weeknight.
Rice Krispie Treats Nutrition
Rice krispie treats are a dessert, and it is best to enjoy them as one: a sweet, occasional indulgence rather than an everyday snack. A homemade square built on butter and marshmallows carries a middling amount of sugar and calories, comparable to other simple sweets like a small cookie or a slice of quick bread.
Because the recipe is so simple, you always know exactly what is in it: cereal, marshmallows, butter, vanilla, and salt. There are no mystery additives, which many home bakers appreciate. Cutting the pan into smaller squares is an easy way to enjoy the treat while keeping your sugar intake in check.
Keep in mind that regular marshmallows are made with gelatin. The recipe can also be adapted with gluten-free crisp rice cereal for anyone avoiding gluten, since the rest of the ingredients are naturally free of it. As with any homemade dessert, the treats are at their best shared: make a batch for a party, a bake sale, or a neighbor, and everyone gets a little sweetness.
Frequently Asked Questions
Why are my rice krispie treats hard instead of chewy? Hard bars almost always come from heat that was too high or melting that went on too long. When marshmallows get too hot, their sugars firm up and the finished bars set like candy instead of staying soft. Melt your butter and marshmallows over low heat, stir gently, and remove the pot from the burner as soon as everything is smooth. Pressing the mixture too firmly into the pan can also compact the bars into dense bricks, so use a light hand.
Can I use stale marshmallows? It is not recommended. Marshmallows dry out as they age, and stale ones resist melting into a smooth coating. Instead of a glossy mixture, you get a grainy, stiff one that barely clings to the cereal. The result is dry, crumbly bars with none of the classic gooey stretch. Fresh marshmallows should feel soft and pillowy when you squeeze the bag. If yours are hard or stuck together in a solid lump, start with a new bag for the best results.
How long do rice krispie treats stay fresh? At room temperature, homemade bars stay soft and tasty for about two to three days when stored in an airtight container. Keep them in a single layer or separate layers with wax paper so they do not stick together. They tend to firm up after the third day, so they are best enjoyed fresh. Avoid storing them in the refrigerator, since the cold makes them hard and less pleasant to eat.
Can I freeze rice krispie treats? Yes, they freeze surprisingly well. Wrap each square snugly in plastic wrap, then tuck them into a freezer bag or sealed container. They keep for up to six weeks in the freezer. When you are ready to serve, leave them on the counter for roughly an hour to thaw. They will not be quite as soft as a fresh batch, but they still taste great, which makes freezing a handy option when you want to get ahead for a party.
What is the best cereal to use? Classic crisp rice cereal is the traditional choice and gives the familiar light crunch. Any puffed rice cereal with a similar toasted texture works well. Some bakers like to swap in other cereals for fun variations: cocoa-flavored crisp rice makes chocolate bars, and fruity puffed cereals create colorful, playful squares for kids’ parties. Just keep the total volume of cereal the same so the marshmallow-to-cereal ratio stays balanced.
What variations can I try? The classic recipe is a canvas for creativity. Stir in chocolate chips, peanut butter chips, or crushed cookies with the cereal. Press sprinkles into the top for birthdays, drizzle cooled bars with melted chocolate, or add a swirl of caramel. For a salty-sweet twist, sprinkle flaky sea salt over the top before the bars set. You can also brown the butter first for a deeper, nuttier flavor that adults especially love.
Conclusion
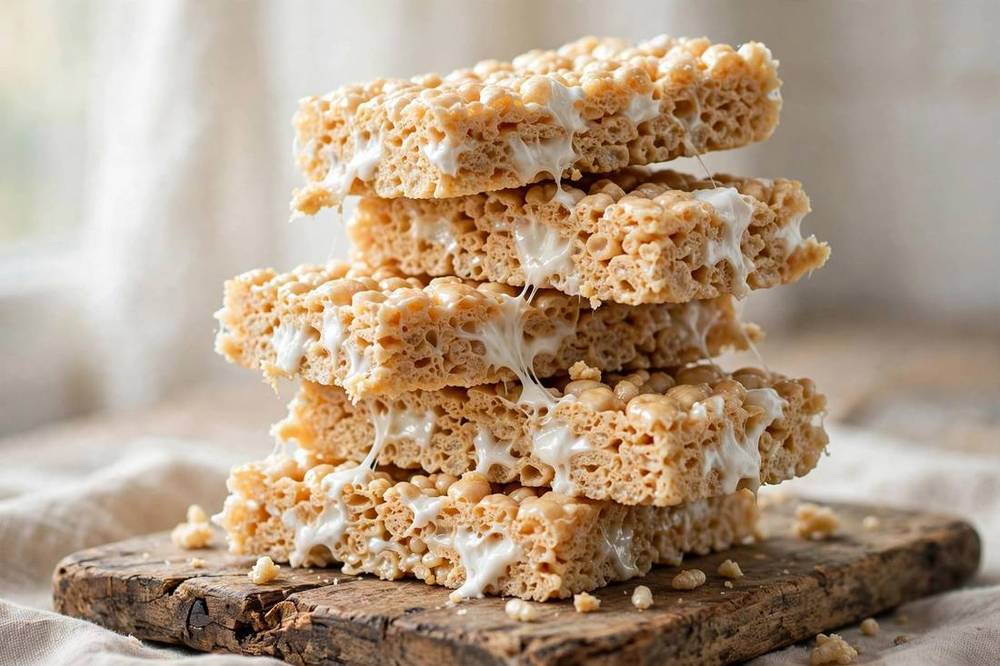
Rice krispie treats prove that the simplest recipes are often the most loved. All it takes is three pantry staples, a single pot, and fifteen minutes to end up with a pan of warm, gooey, buttery bars. They are the dessert equivalent of a hug: familiar, comforting, and welcome at just about any gathering.
Whether you are making them for a school bake sale, a birthday party, or just a quiet night at home, this classic recipe delivers every time. Keep the heat low, use fresh marshmallows, press gently, and let them cool before cutting. Master those small details and your rice krispie treats will be the ones everyone asks about. Now grab a spatula and get melting.
Read Also: Round out your comfort food lineup with our easy fried rice, perfect for using up leftovers on a busy night.
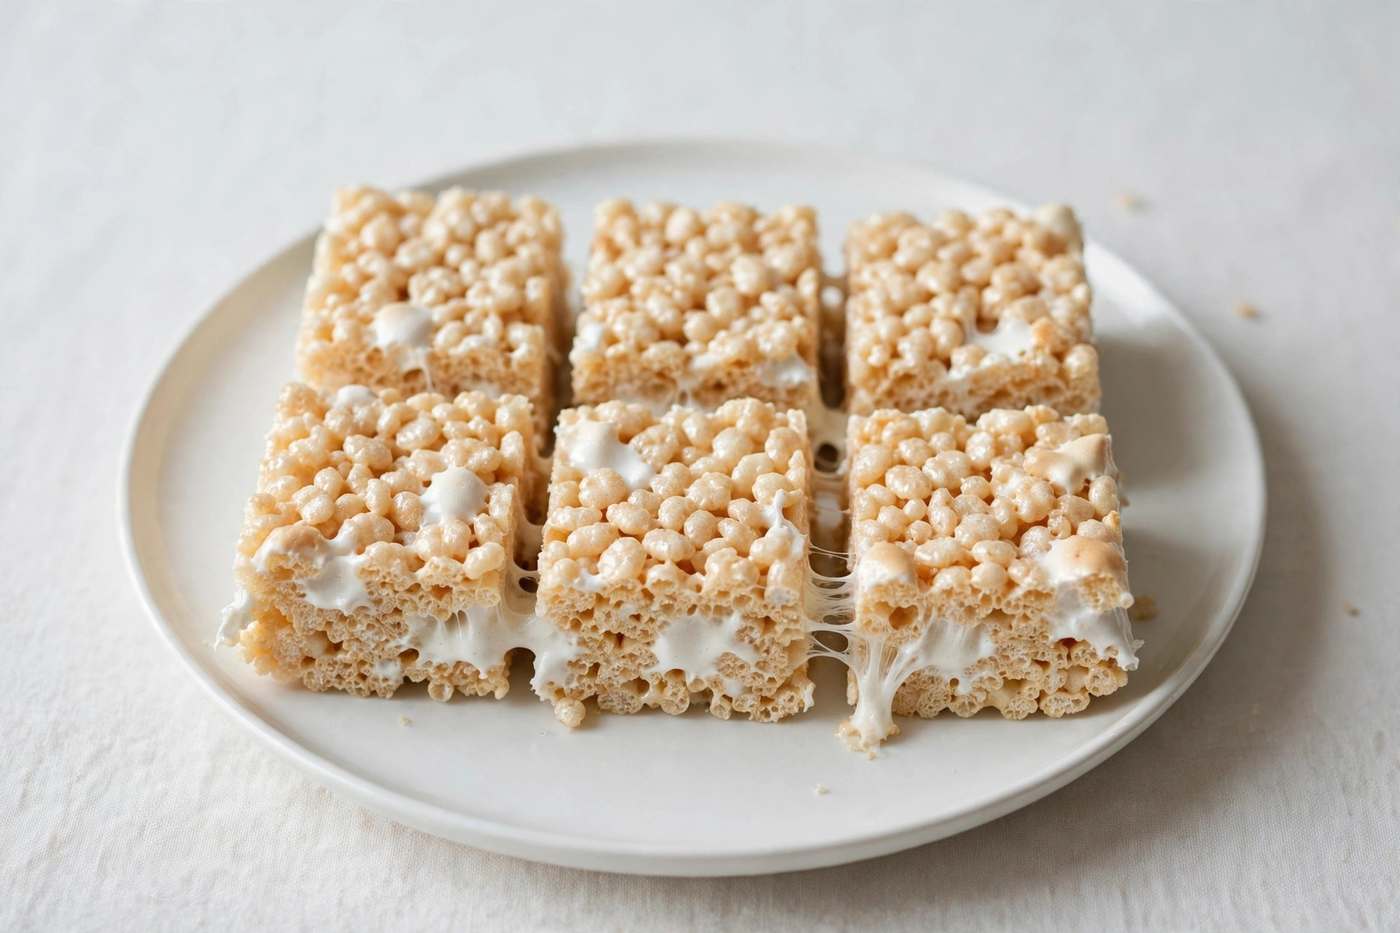
Classic Homemade Rice Krispie Treats
Ingredients
Method
- Butter a 9×13-inch baking pan generously, or line it with parchment paper leaving an overhang on two sides for easy lifting.
- Melt the butter in a large pot or Dutch oven over low heat, stirring occasionally until fully melted and just starting to foam.
- Add the marshmallows and stir gently over low heat until completely melted and smooth, about 4 to 5 minutes. Stir in the vanilla extract and salt.
- Remove the pot from the heat. Add the crisp rice cereal and fold with a buttered spatula until every grain is evenly coated in marshmallow.
- Transfer the mixture to the prepared pan. Using buttered hands or a piece of wax paper, press gently into an even layer without compacting it.
- Let cool at room temperature for about 1 hour until set. Lift out of the pan, cut into 24 squares with a buttered knife, and serve.
- Store leftovers in an airtight container at room temperature for up to 3 days.
Notes
- Low heat is essential: high heat makes the marshmallows tough and the bars hard.
- Use a fresh bag of marshmallows for the silkiest, gooiest melt.
- Press gently into the pan. Over-packing creates dense, hard bars.
- For clean cuts, let the bars cool completely and wipe the knife between slices.